Do you want to view your website traffic stats on your WordPress dashboard. Google Analytics Stats helps you know how many visitors are coming and how their response is with your website. Today, in this article we will learn how to Add Google Analytics stats to the WordPress dashboard.
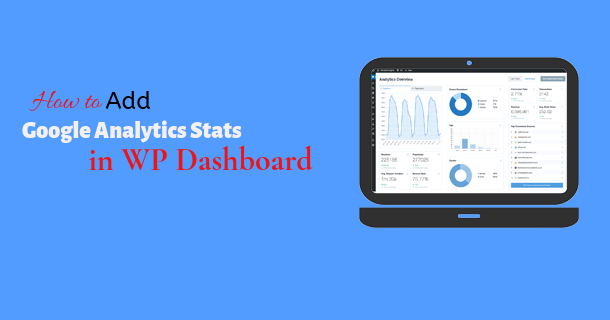
Traffic stats is one of the best ways to know your audience, as well as important for your success. Google Analytics is the only free option that shows you the traffic stats of the website.
Google Analytics is very easy to use. To start it, you need to have a Google or gmail Account. If you do not have a Google account, sign up here.
This article is going to be interesting and important for you because it is a part of SEO. Where you will learn about using Google Analytics with WordPress.
So stay till the end of this article where you have so much to learn.
Before we teach you to sign up for Google Analytics. Let’s know before that, the importance of Google Analytics.
Importance of Google Analytics (GA)
Google Analytics helps in knowing how many visitors are coming to your website from where, when and how. In addition to the general GA data stats, you are able to analyze your website’s in-page report and in-depth post report data. With which you can get performance details for every page or post of your website.
There are the following advantage of using Google Analytics.
Geographical Location: This will show you the geographical location of the visiting visitors to your website. By which you can understand that your website is being viewed in the targeted country or city.
How long they stay on your website: You can find out where users are visiting your website by using Google Analytics i.e. how long they stay on your website. And also you can know the bounce rate of your website. With this information, you can reduce the bounce rate of your website and increase the page view.
Scroll Depth: This information helps you to know how much users enjoy with your post/page. That is, how far do visitors scroll a page.
To read more about scroll depth, See our step-step guide on Scroll depth tracking.
How did people find your site/page: Here you know which browser is used to open your website. What percentage of visitors use Chrome, Firefox, Safari etc. to reach your website.
The most important thing is that you are also able to know what the traffic sources of your website are. Furthermore, what percentage of your website’s traffic is coming from Google search engine, direct link, referral or other site.
All these information are very important for you to increase website traffic. If you have a website, we would recommend you to use Google Analytics. With which you can effectively increase your sales and leads.
How to Signup for GA
It is available for free, and you need a Google or Gmail account to signup it. The signup process is absolutely simple. Follow the instructions below to create your GA account step by step.
First, you need to visit GA sign up.
Now, you will be asked to login with Google account. If you already have a Google or Gmail account, then you can use it to login. Otherwise, you can create a new account by clicking on “Create Account”.
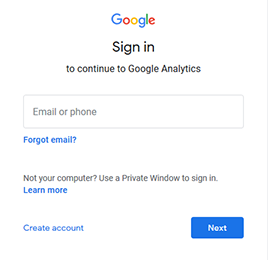
Once you sign in with a Google account, you will see GA sign up page. Now here are three complete requirements of GA signup.
Google analytics signup process can be completed by following the instructions given below.

In the next step of the signup process, you will see the option of Mobile App and Website. Make sure you select the website.
After this you need to enter account name, website name, website URL, country and time zone.
Once you enter the correct information, click the “Get Tracking ID” button. As soon as clicked, Google Analytics Services and Terms of Windows will open. With which you must agree. Make it sure by clicking the “I Agree” button.
Now the Google Analytics tracking code will appear on your computer screen. You can copy this tracking code. Because it needs to be configured with your WordPress website.
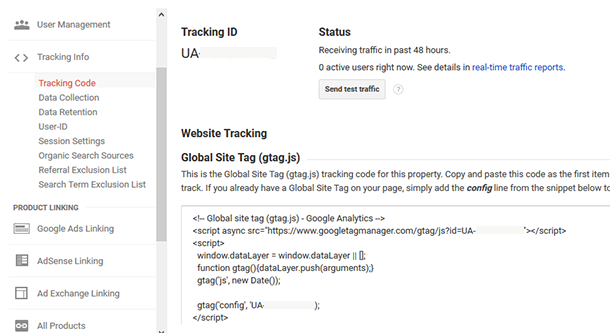
Let us now know in detail how to install Google Analytics on WordPress.
Install Google Analytics Stats on WP Dashboard
There are many ways to install Google Analytics on a WordPress website. But we have selected the MonsterInghts plugin to install Google Analytics in WordPress.
MonsterInsights is a popular google analytics plugin for WordPress to monitoring website stats. Therefore we would recommend you to use MonsterInsighs for grow your business.
Setup MonsterInsights
The first thing you need is to install and activate the MonsterInsights plugin. For more details about plugin, see our step-step guide on how to install WordPress plugin.
When you first install MonsterInsights, you have the option of a five-step setup wizard to properly add Google Analytics to the WordPress site.
It starts by asking you the category of your website. Depending on your selection, MonsterInsights recommend the appropriate setup wizard.

In the next step, you will see the option to link your Google Analytics to MonsterInsights account. Select Google account to continue authentications.

Next, you will be asked to allow MonsterInsights to access your Google Analytics account.

Click on “Allow” button to continue.
Now in the final step, you will get the option of profile selection. You select the website you want to track here.
Choose your profile, and then click the “Complete Connection” button.
After that MonsterInsights will install Google Analytics on your website. Next you will be asked to selection the recommended setting for your website.
This page includes some of most important setting as following:
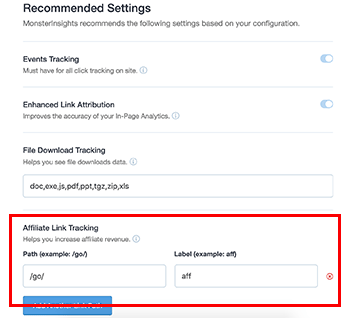
Here some settings are already enabled such as Events tracking, Enhanced Link Attribution, File Download Tracking.
Furthermore, you can do some more advanced settings. If you use an affiliate link plugin, you need to add the path you use to cloak the affiliate link. This will allow you to track your affiliate link in Google Analytics.
Click on “Save and Continue” button to save your setting.
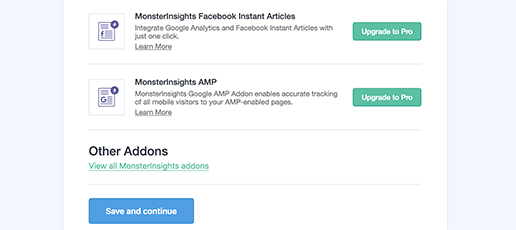
Next, MonsterInsights will show you the paid addon that you can access if you upgrade to PRO. Click the “Save and Continue” button to exit.
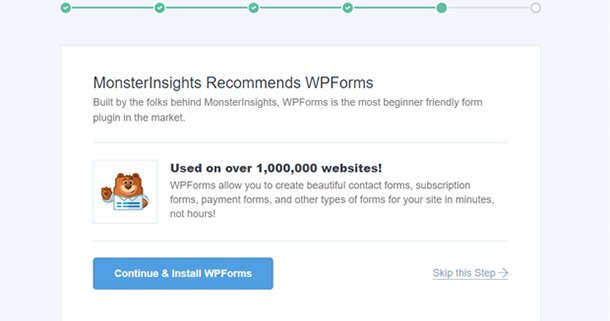
In the next step, you will see the recommendation of the WPForms plugin. Which is the best WordPress Contact form plugin. To install it, click the “Continue & Install WPForm” button or click on “skip this step”
Now, the screen will come with “Awesome, You’re all set!” massage. This means that the setup process is complete. You have successfully installed Google Analytics on your WordPress site.
View Your Google Analytics Stats on WordPress Dashboard
It will take a few hours to start gather Google Analytics data. Wait for some time then you will be able to see the report of your WordPress website insight your WordPress dashboard.
To view the full report, you’ll need to go to the Insights » Reports in WordPress Dashboard. Now you can see all types of reports here which we have told in this article.
We hope that this article will definitely help you to install Google Analytics stats on your WordPress dashboard. If you have any question or suggestion regarding this, then you must write to us in the comment box
If you liked this article, then follow us on Facebook and Twitter.


